Start your weekly worry stone ritual
Worry stones help to connect the group and remind everyone that they aren’t alone in their feelings. This ritual gives students practice in naming their feelings— an important first step in befriending and navigating anxiety. They also get to exercise their power to decide when to spend with their worries and when to take a break. You can find our “Give Worry a Time Out” instructions here, and scroll down this page for a video that models the exercise.
for the rest of your sessions:
1. Begin every meeting with worry stones
Here again are our Worry Stone instructions for you to follow at the beginning of each session.
2. Move on to your project of the day
Just go to our projects page and follow the step-by-step instructions, or select one of our short videos to watch.
Looking for suggestions? Down below, counselors and artists share their advice and favorite projects.
3. Take time to share and reflect
Sharing is always optional, but you can also let students know that they can share as much as as little as they want—just a sentence is totally okay. If some students opt out of sharing, it may be because they weren’t feeling ready and they may change their mind after others have shared. Offering the option a second time—without calling out individual students—can help.
Afterwards you can ask the group to reflect on the experience: What did they enjoy? What was challenging? What did the project make you think about?…
4. Invite student to share their creations in our gallery!
Seeing their work shared on our website can be a powerful experience for students and reinforce that their voice matters. They will also be inspiring creativity and expression in other youth people.
 Mia O’Connor-Smith, Multidisciplinary Artist, Dancer, Mama, Earth Tender, Founder of Deep Underground, Workshop Facilitator

Jonathan Hill, cartoonist & educator / Create More, Fear Less advisor & facilitator
Best advice:
“Be flexible and respond to the group. If they are into a project and want to spend more time on it, give it more time. If they don’t like certain activities, cut them short or find new approaches. For instance, in my first group, they were not really interested in the projects that focused on writing, but loved the drawing and making. I learned to incorporate more visual work and focus less on writing.”

Liz Kobs, she/her, school counselor. Lover of plants, office supply stores, Target, and the outdoors. Mom to Marley

Jelly Sinclair, artist, Portland State University student, Create More, Fear Less facilitator
Best advice:
“My best tip for a successful workshop beyond being in tune with the students and where they are at that day is to do the project first yourself (especially the writing parts) so that you can be present for the students while they’re working and have advice and examples ready for them. It was important to me to do the projects along with the students (I got a lot out of it) but it’s kind of hard to write a poem about your anxiety with a bunch of little eyes on you.”

Jess Firestone, school counselor, potter, hugger
Best advice:
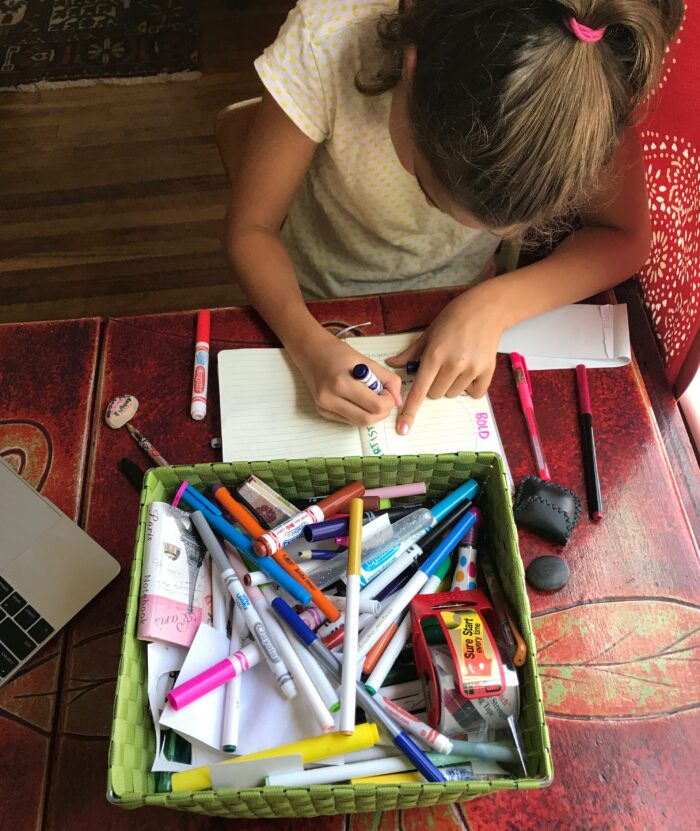
“Do the projects along with your students. Start with projects that only require paper and colored pencils or markers- these require no prep!“
Jess’s favorite flow:
1. Perfectionists Unite! Before getting into vulnerability and sharing worries, and to dive into the art part, I start with this one.
 Self-awareness & compassion
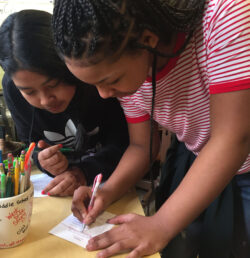 Empathy & connection
1 Give Worry a Time Out
2 Spread a Little Love & Bot Love!
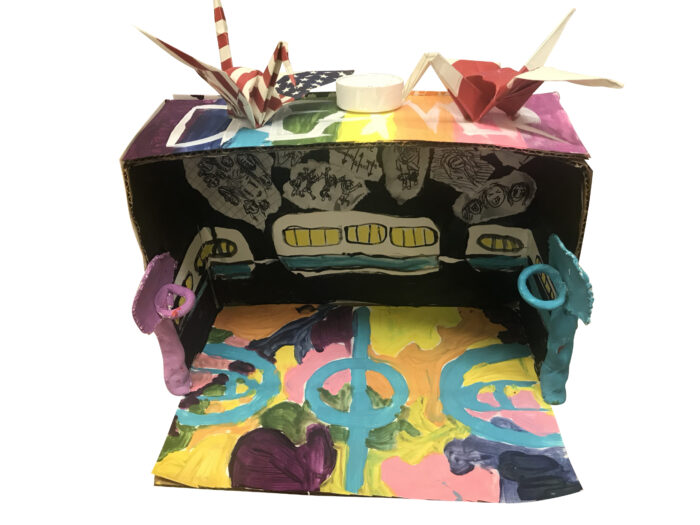
3 Open Your Own Art Museum
4 Journal On! (and add your journal pages to our growing online gallery!)
5 Create More Connections with Kelsey Snook (8-part video series)
 Self-care & confidence
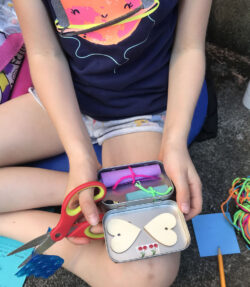
1 Make Your Own Okay Kit
2 Take Your Brain on Vacation
3 Make a Tiny Book (or 12)!
4 Meet& Tame Your Worry Beast
5 Create More Confidence with cartoonist Jonathan Hill (8-part video series)
5 Sing Your Feelings
6 Try a New Attitude: Gratitude
7 Be Your Own Best Friend
8 Make a Joy Jar
9 Float Your Boat
 Voice and inner-power
 Family & community connection
1 Journal On!
2 Make Your Own Okay Kits
3 Meet Your Worry Beast; Tame your Worry Beast
4. Spread a Little Love & Bot Love
5 Raise Your Voice

 Intentional Re-entry with multidisciplinary artist
Mia O’Connor Smith
In facilitating her “Create More, Fear Less” workshops, Mia always began by having her group leave the room and enter again. She called this “intentional re-entry.” Mia:
I started dancing when I was three. The stage and studio were places that, as soon as I walked through the doors felt a change. I think it was the sacredness of those spaces.
I see that similarly in the classroom. Each time you walk through a door, things are different on the other side. The people are different, the energy is different, because of what we all carry inside us.
Kids understand better when you make things physical and so if you’re explaining the practice as they’re moving their bodies, it becomes a part of their routine and they know what to expect when they’re coming into your space.
That’s why, in my groups, we would step out of the room and come back in, to acknowledge the energetic difference and acknowledge what we’re all bringing into the room. Encouraging young people to be more aware of their bodies in a space has turned out to be a really powerful tool in our workshops.
Connecting the mind and body.
The beauty of this practice is that it slows down the transition from whatever kids are dealing with at home or in the halls to the present moment, giving students the opportunity to reset and decide how they want to show up, which can have a powerful effect on their self-confidence, self-image, and emotional wellbeing.
To practice intentional re-entry with your students:
Have everyone gather or line up outside in the hall. Ask your students to think about what they’re currently feeling and what they would like to feel when they walk back inside. Then, before re-entering the classroom, have everyone take a deep breath and embody this new feeling by…
…shaking out their bodies and striking a new pose that reflects what they want to feel (the “act as if” principle).
…turning their desired feeling into an affirmation. For example: I am happy, I am strong, I am loved. As they take a deep breath, have them say this affirmation either to themselves or aloud.
….introducing EFT tapping, either on its own or along with affirmations. If you aren’t familiar with this practice, you can read more about its use in releasing anxiety, stress and trauma here.
To build on this practice, you can also try:
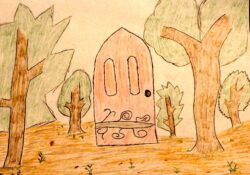
…turning your classroom door into a portal by decorating it, either on your own or with your students’ ideas and involvement.
…having students design their own portals and post their drawings around the outside of your door.
…assigning a door greeter to remind students to slow down and take a deep breath before passing through the portal.
Whatever your approach, it’s all about giving students that moment to stop and consider the space they are about to enter, what they are carrying with them, and how they want to show up. That’s a practice that will serve them well into their futures.
Approximate time for re-entry: 5 minutes
Approximate time for portal creation: 1 class period

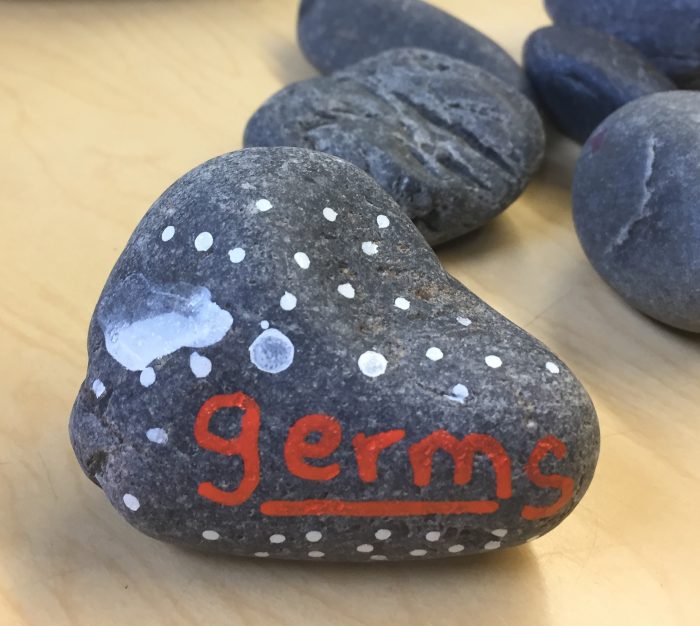
“Give worry a time out” with OK YOU’s Kathleen Lane
A grounding and connecting ritual that normalizes feelings and gives students—and all of us!— practice in naming, separating from and exercising our power of choice in how we want to engage with our emotions. Over time we also get to see difficult moments and emotions as passing, not a permanent state of being.
Supplies: A stone and paint pen or permanent marker (or paper and pen), and a bag or other container for collecting stones.
Approximate time: 10 minutes for group reflection and sharing
Step-by-step project instructions can be found here.

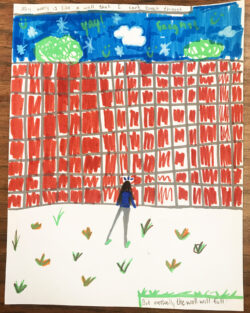
Journal Comics with cartoonist Jonathan Hill
A personal reflection & expression ritual for the development of self-awareness and confidence in navigating difficult moments and emotions. By tracking day-to-day feelings and events, students can look back and see what challenges are no longer present for them, celebrate their courage and resilience, and move forward with greater self-confidence. Journal Comics also give students a “cool” way of sharing their challenges with each other.
Find Jonathan’s step-by-step project instructions here.
Supplies: Something to write on and something to write with. A journal is ideal but not necessary. You can also make your own art journal!
Approximate time: 30+ minutes